Setting up a custom domain name on localhost
Windows
Step 1:
Open the directory below in file explorer:
C:\Windows\System32\drivers\etcStep 2:
There you will find a file called hosts. Double click on the file to open it. If it asks you to choose a program to open it, choose "Notepad" or your preferred text editor.
Step 3:
Scroll to the end of the file and add the following line:
127.0.0.1 example.testStep 4:
Click Save(Shortcut for Windows is CTRL+S) to overwrite the changes to the file. In the Save Type As dropdown select All Files. There should be a popup window asking you if you want to replace the file. Click Yes.
You could get a message prompt saying that you don't have the right/administrator permissions to replace the file. If you do, Go to step 4.1 , if not skip to Step 5.
Step 4.1:
In your windows startup search bar, type "notepad". Right click on notepad and run it as administrator.
Copy the full contents of hosts file that we previously opened in step 3. Paste the content into the notepad file that you opened as an administrator in step 4.1.
Click Save As on the new notepad. For Save Type As select All Files. Change the directory on the Save Popup Window to the following folder:
C:\Windows\System32\drivers\etcYou will see a file on top called hosts. Select the file and it will prompt file already exists, do you want to override the file?, to which you must select Yes.
Step 5:
Open the follow directory
C:\xampp\apache\conf\extraDouble click to open a file called httpd-vhosts. If it asks you to choose a program to open it, choose Notepad.
Step 6:
Scroll to the bottom end of the file and add the following code:
<VirtualHost *:80>
DocumentRoot "c:/xampp/htdocs/example/"
ServerName example.test
<Directory"c:/xampp/htdocs/example/">
</Directory>
</VirtualHost>
You should replace c:/xampp/htdocs/example/ with location of your project. Example, if your project is in a subfolder then add the subfolder c:/xampp/htdocs/folder/subfolder/
ServerName (example.test) should also be replaced your chosen domain name. Note it must be the same domain name that you used in Step 3.
Step 7:
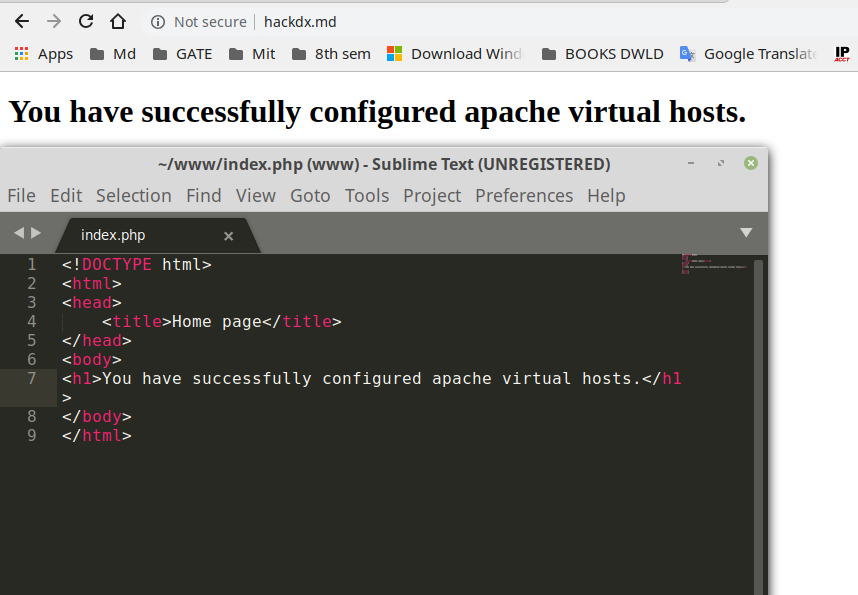
Next restart your xampp. (Stop & Start the apache service). Type in your new domainname into the browser's search bar and you are good to go. Now you can access your project with ease.
Linux (Ubuntu)
Step 1:
If you are new to Linux you can install apache server and PHP as given below otherwise skip this step. Apache is used to host PHP script. If you have already installed then also skip this step.
sudo apt-get update
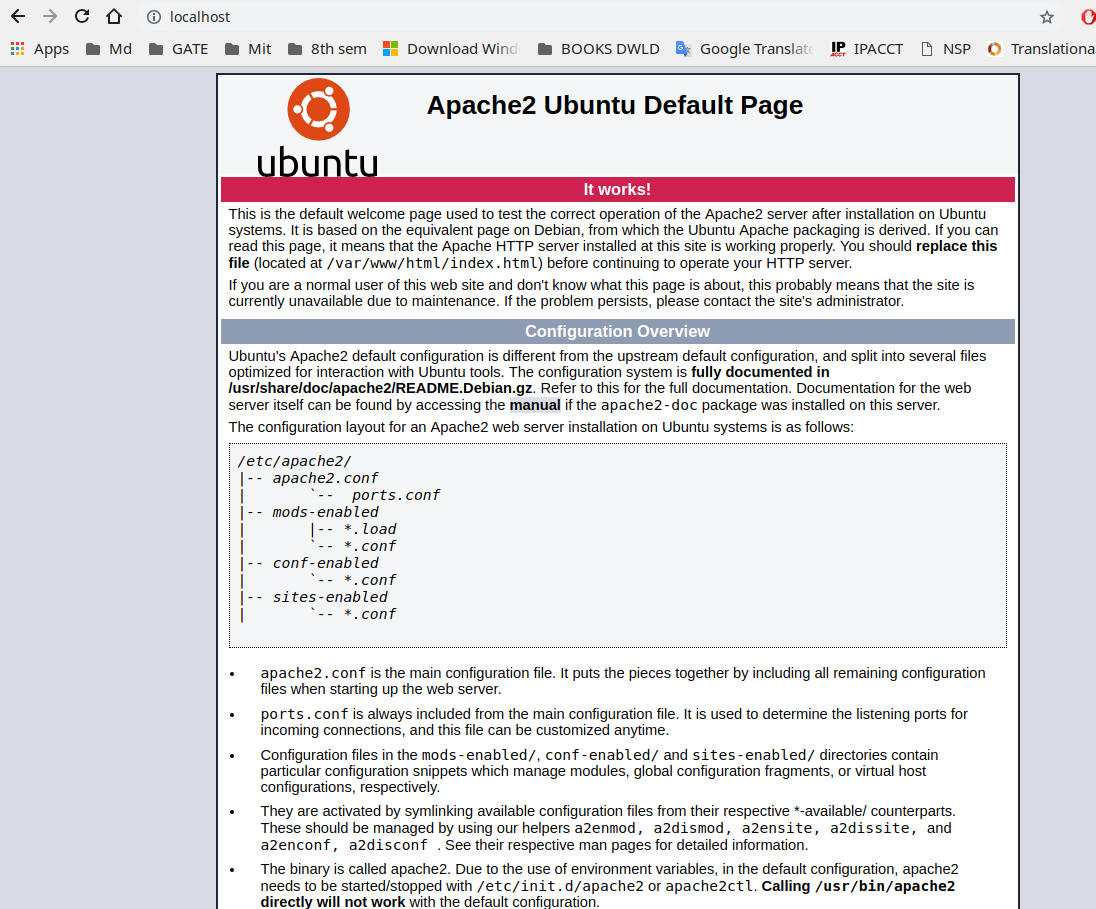
sudo apt-get install apache2 phpYou can check your server by typing localhost into your browser. If you get apache ubuntu default page (i.e) you have successfully installed apache2 server.
Step 2:
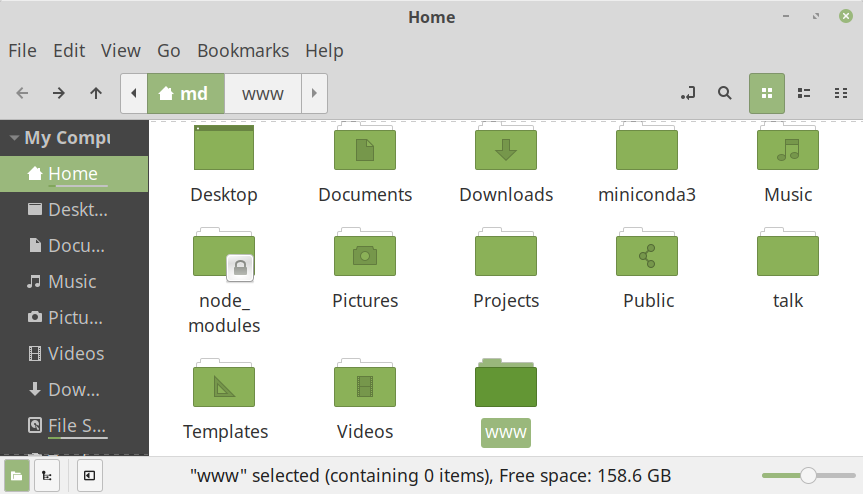
Create a folder which you want to use as root directory of your server. Here I am using /home/md/www as my root directory. You can name it anything you like, naming www is not mandatory.
Step 3:
Now one of important step to create domain name in your hosts file under /etc/hosts. Open your terminal and type the following.
• Install xed if not already done using:
sudo apt-get install xed• Then Execute this command to edit the hosts file
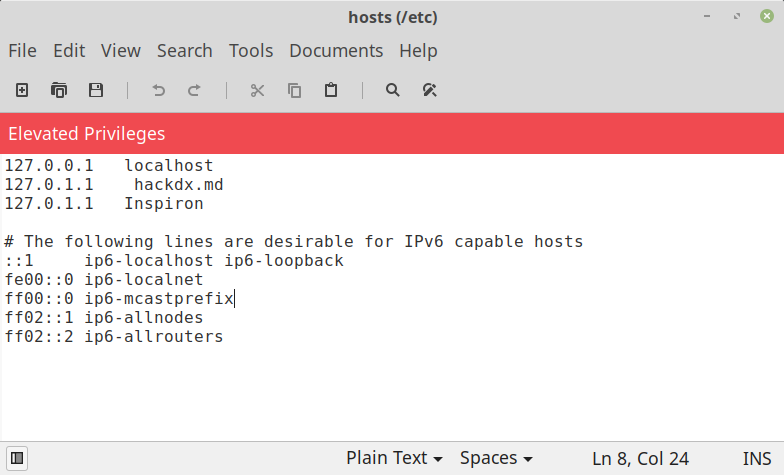
sudo xed /etc/hosts• Enter your domain name in front of localhost IP as given in the figure. Here we are using hackdx.md, so we are writing 127.0.1.1 hackdx.md. Now you can see default apache page by typing hackdx.md in your browser.
Step 4:
Now copy default apache2 configuration file for your new domain name configuration as given below. You can do for as many domain as you want. This step is required so that you can see your newly created domain at hachdx.md or your own domain. You can also add in default conf but creating new file is recommended as you may mess up with original default file.
This can be done with the below command:
sudo cp /etc/apache2/sites-available/000-default.conf /etc/apache2/sites-available/hackdx.md.conf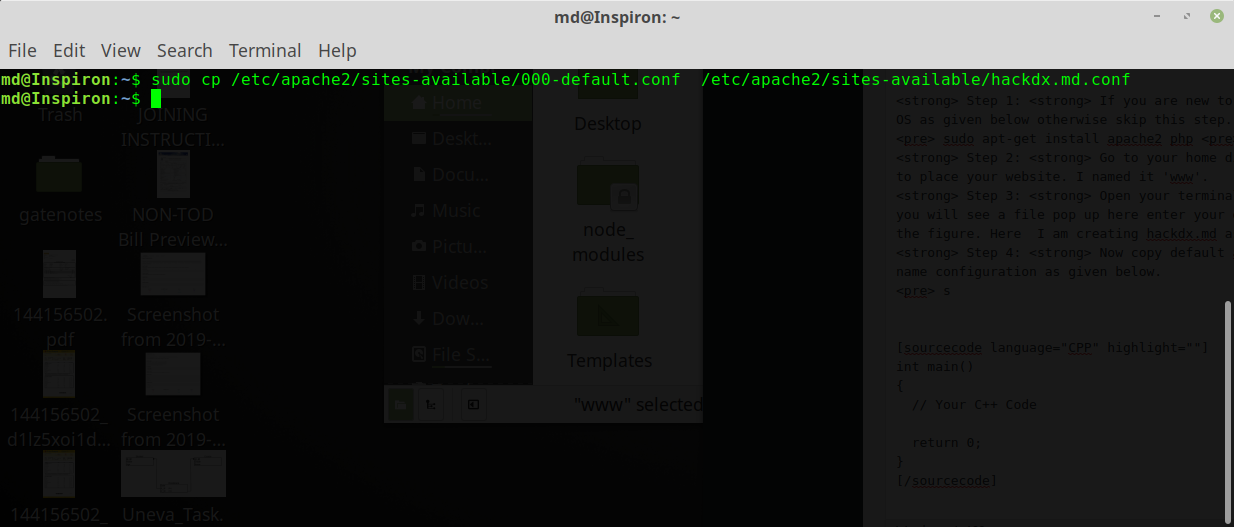
Step 5:
Now add entries to our configuration file hackdx.md.conf as given in the figure. We are creating /home/md/www as root directory and giving hacdx.md as domain name or server name. All different domain can also be added to this file if you want to create at a different location. Like /home/md/sample etc, a corresponding entry must exist in the /etc/hosts file.
sudo xed /etc/apache2/sites-available/hackdx.md.conf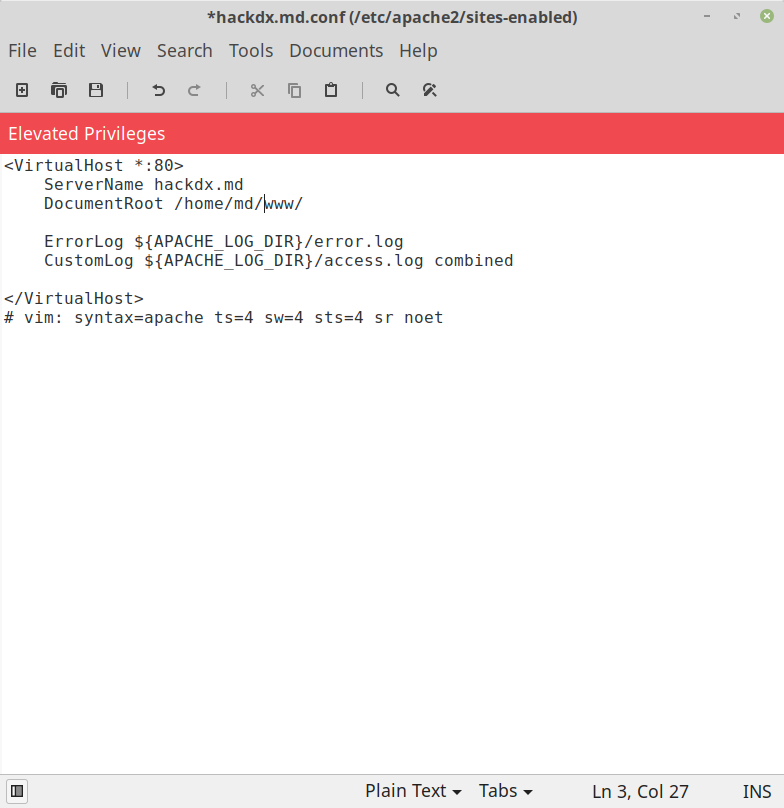
Step 6:
Disable the default configuration and enable our new configuration for newly created domain hackdx.md.conf.
sudo a2dissite 000-default.conf
sudo a2ensite hackdx.md.conf
sudo systemctl reload apache2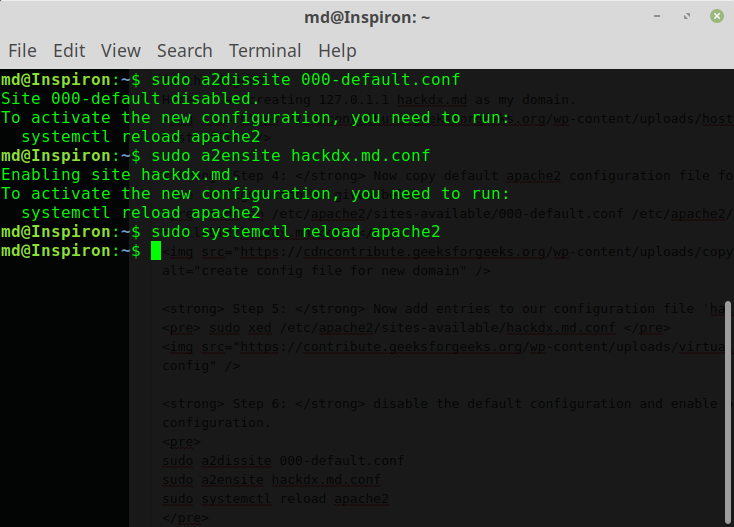
Step 7:
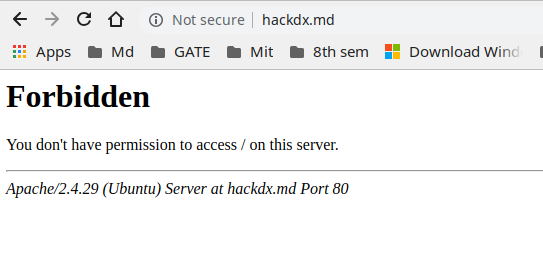
update apache2 config file also in case you get forbidden error. You may get this error because apache2 is not recognizing new root document location /home/md/www, by adding these lines apache know about the root location.
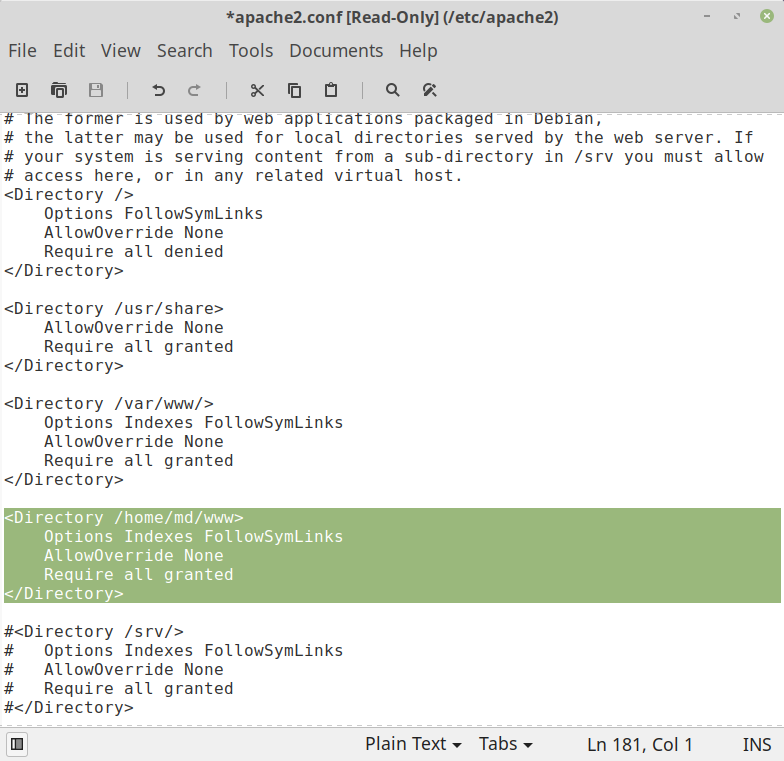
Run this command to edit apache2.conf
sudo xed /etc/apache2/apache2.confAdd these lines to your apache2.conf file as given in the figure.
Step 8:
Finally, reload the apcahe2 service put this command in your terminal.
sudo systemctl reload apache2Step 9:
You are ready now check by typing your URL to the browser. You can test by writing a simple PHP script in www folder.
Now you can put your files in www directory and enjoy using the PHP server.
Mac
How to Enable VirtualHosts
Step 1:
Firstly, you’ll need to open the following file; /Applications/XAMPP/xamppfiles/etc/httpd.conf in your preferred text editor. An easy way to get here is by going to ‘Finder’ –> ‘Go’ –> ‘Go to Folder’ and then simply pasting in the location.
Now that you have the file open, you will need to look for these lines;
#Include /Applications/XAMPP/etc/extra/httpd-vhosts.confNow, uncomment the second line by removing the hash (#) so that Apache will load your customised VirtualHosts files as follows:
Include /Applications/XAMPP/etc/extra/httpd-vhosts.confStep 2:
Lets now open the following file; /Applications/XAMPP/xamppfiles/etc/extra/httpd-vhosts.conf. Towards the bottom of the file you will see some example VirtualHosts, which you should comment out or delete.
At the bottom of the file, add localhost as the default named VirtualHost like so:
<VirtualHost \*:80>
ServerName localhost
DocumentRoot "/Applications/XAMPP/xamppfiles/htdocs"
<Directory "/Applications/XAMPP/xamppfiles/htdocs">
Options Indexes FollowSymLinks Includes execCGI
AllowOverride All
Require all granted
</Directory>
</VirtualHost>
What this does is allows http://localhost to point at XAMMP’s htdocs directory once we have created our VirtualHosts.
With this done, we can now create our own VirtualHosts. So, after the default localhost, we can now add:
<VirtualHost \*:80>
ServerName yoursite.silva
DocumentRoot "/applications/XAMPP/xamppfiles/htdocs/yoursite.silva"
<Directory "/applications/XAMPP/xamppfiles/htdocs/yoursite.silva">
Options Indexes FollowSymLinks Includes execCGI
AllowOverride All
Require all granted
</Directory>
</VirtualHost>
With the example above, you should replace yoursite.silva with your own hostname, this can be pretty much anything you like. The exception is using a hostname that will not conflict with a real domain name, like yoursite.dev. We used to use yoursite.dev but since it became owned by Google we can no longer use this along with quite a few others.
Now we have another step to do to get this working fully…
Step 3:
Now we need to go to the following location; /etc/hosts, we will be editing the hosts file so it knows how to handle the new server name. The hosts file is used by OS C to map hostnames to IP addresses. In our case, since we are going to be using localhosts, we want to map the server name to the IP address 127.0.0.1 (this is your localhost IP).
Pro Tip: You can actually map any website to any IP address. We tend to do this for website migrations, let’s say we moved silvawebdesigns.com to a new IP address, we could simply add 192.123.123.124 silvawebdesigns.com (add www. if your website contact this in the web address). The advantage of this is that we can test the website on the new server before updating the Nameservers or DNS, this way we can be 100% the site will work perfectly before the migration.
So now that we’ve mapped the server name to your localhost.
Step 4:
Restart Apache When updating any of these files, for the changes to take effect, we need to restart Apache. This can be done through the XAMPP Control found here: /Applications/XAMPP/XAMPP Control.app
Now, let’s point your browser to http://yoursite.silva (or whichever server name you chose) and you should see your website.
Step 5:
If it’s all working now, then happy days! But should you have a problem like a 403 error, then see below:
Since Apache runs as a ‘nobody’ user by default, it may not have the permissions required to browse your OS X user directory or it’s sub-directories. In this case scenario, you’ll receive a 403 ‘access forbidden’ error when attempting to view your site within your localhost. In other cases, you may see that you can view the site but you get a few PHP errors when attempting to write files or create directories within your filesystem.
So, in order to fix this, you can configure Apache to run as your OS X user. To do this, open the following file; /Applications/XAMPP/xamppfiles/etc/httpd.conf and look for the following lines:
User daemon
Group daemon
Now, change User to your OS X username, and save the file:
User yourusernameStep 6:
Restart Apache again and you should now be able to navigate your site without any issues, including manipulating files and folders using PHP.
Should you have any further problems, then try setting your user read and write privileges on the following file; /Applications/XAMPP/xamppfiles/htdocs/xampp/lang.tmp
Step 7:
Hopefully, now you should have your custom domain setup via localhosts on OS X. Like we have already mentioned, it’s not simple to add custom domains as it was with AMPPS, but once you’ve completed the initial setup, all you have to do is update your /Applications/XAMPP/xamppfiles/etc/extra/httpd-vhosts.conf file with your new domain by copying and amending one you added previous, then add 127.0.0.1 yournewdomain.silva to your /etc/hosts files and you’re are all set!